

How to Build a Concrete Slab: Step-by-Step Concrete Installation & Repair Guide

Pouring a solid foundation is the first step to any long-lasting surface project, whether it’s a patio, walkway, or shed base. This guide walks you through each phase of Concrete Install & Repair, helping you avoid costly mistakes and ensure structural integrity from start to finish. Proper planning is especially important in places like Berwyn, IL, where seasonal temperature changes and soil conditions can affect curing times and material stability. Local regulations and building codes may also influence how concrete is poured, reinforced, and cured.
Step 1: Site Preparation
Start by choosing a level and accessible location for your slab. Clear all vegetation, roots, rocks, and debris. Use stakes and string lines to mark your slab dimensions. Ensure the layout is square by measuring diagonals; equal measurements confirm correct alignment.
Step 2: Excavation
Excavate the area within the staked boundaries. Depth will depend on your slab’s intended use, but generally, you’ll want 4 to 6 inches of slab thickness and an additional 3 to 4 inches for a gravel base. Remove enough soil to account for both layers.
Step 3: Gravel Base Installation
Pour in a layer of compactible gravel (crushed stone works well) to form the base. This improves drainage and supports the slab evenly. Spread the gravel with a rake and compact it with a hand tamper or plate compactor until it's firmly in place.
Step 4: Form Building
Use 2x4 or 2x6 lumber to construct the forms that will shape the edges of your concrete slab. Anchor the boards in place with wooden or metal stakes driven into the ground. Ensure the forms are level and square, adjusting as needed to create a clean perimeter.
Step 5: Reinforcement Setup
Add reinforcement to increase strength and reduce the risk of cracking. Use steel rebar placed in a grid pattern or welded wire mesh. Lift the reinforcement slightly off the gravel using small concrete blocks or specialized chairs to ensure it sits in the middle of the slab once poured.
Step 6: Mixing the Concrete
You can either mix your own concrete using a mix of cement, sand, gravel, and water, or order ready-mix concrete for larger slabs. Aim for a consistency that holds its shape but is workable. Too dry, and it won’t settle well; too wet, and it weakens the finished product.
Step 7: Pouring the Concrete
Start pouring concrete into the form, beginning at one end and working your way across. Spread it with shovels or rakes to fill the entire space. Use a screed board to level the surface by dragging it across the top edges of the form boards in a sawing motion.
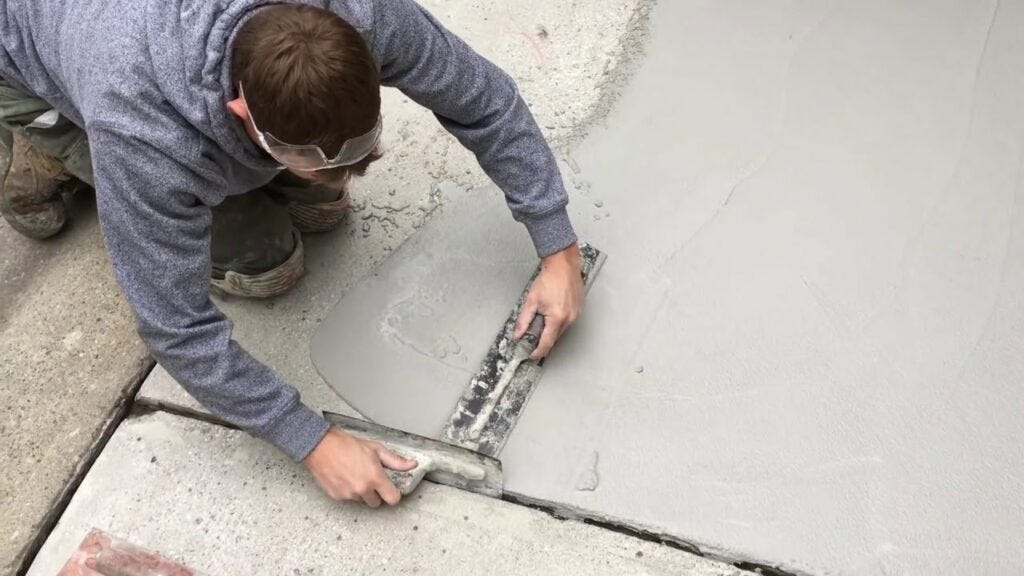
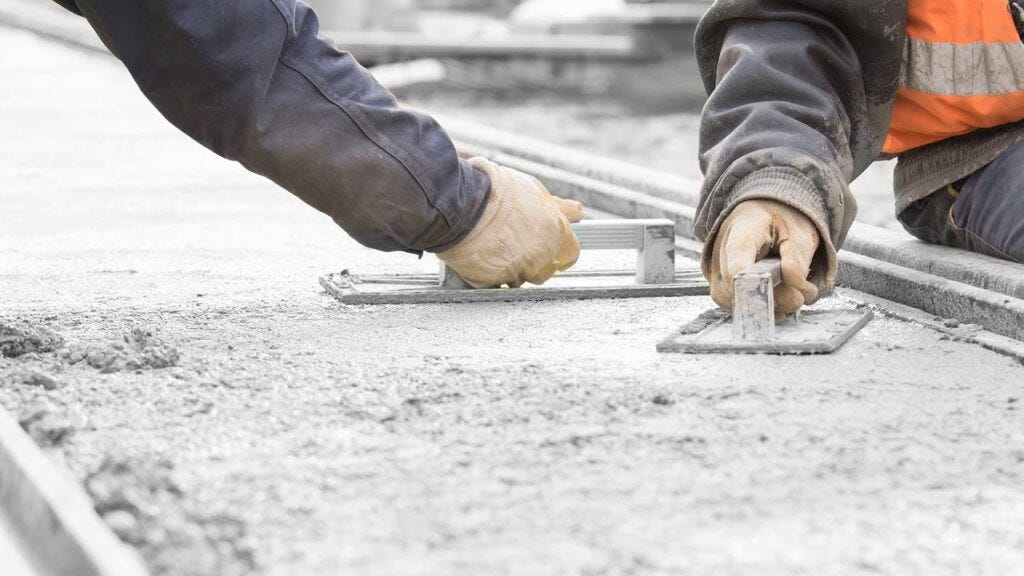
Step 8: Finishing the Surface
Once the slab is level, let it sit briefly until surface water disappears. Then, use a bull float to smooth out the surface. Run an edger along the perimeter to round off the edges and prevent chipping. For textured finishes, use a broom to create traction.
Step 9: Curing the Slab
Concrete needs time to cure and gain strength. Cover the slab with plastic sheeting or keep it moist with daily water applications for at least seven days. Avoid walking or placing weight on the slab during this curing period. Full strength is typically reached after 28 days.
Step 10: Repairing Concrete Slabs
Over time, slabs can crack or chip due to weather changes, poor installation, or heavy loads. For small cracks, use a concrete crack filler or patch compound. Larger issues like sinking or heaving may require resurfacing or professional lifting techniques. Timely repairs help extend the life of your slab and maintain its structural integrity.
When to Hire a Professional
While many concrete projects can be done DIY, larger or more technical installations may benefit from expert input. Hiring a professional ensures compliance with local codes, proper reinforcement, and advanced finishing. For example, Babcock Restoration offers professional concrete services backed by experience and local knowledge, making them a trusted resource for more complex projects.
Final Thoughts
Creating a solid, functional concrete slab takes time and precision. From site preparation to final curing, each step plays a crucial role in the slab's durability and appearance. Whether you're laying the groundwork for a garden shed or repairing an old driveway, understanding the correct techniques for Concrete Install & Repair will save you time, money, and frustration.
Planning ahead and knowing when to bring in professional help ensures the end result is both strong and attractive. With the right approach, even a basic concrete slab can serve your property well for decades.
Frequently Asked Questions
1. How thick should a concrete slab be for a driveway or patio?
Standard patios and walkways require a 4-inch slab, while driveways often need at least 5 to 6 inches, depending on vehicle weight.
2. Can I install a concrete slab in cold weather?
Yes, but it requires special precautions like using warm water in the mix and insulated blankets to prevent freezing during curing.
3. How soon can I walk on a newly poured concrete slab?
Light foot traffic is typically safe after 24 to 48 hours, but it's best to wait a full 7 days before placing heavy loads.
4. How do I know if my concrete slab needs repair?
Visible cracks, uneven surfaces, or water pooling are common signs. Early repairs can prevent more serious structural issues.
5. Is reinforcement always necessary in a concrete slab?
Not for every application, but it's highly recommended for driveways, heavy-use areas, or where soil shifting is common.
.